Neutral Silicone Sealant Window
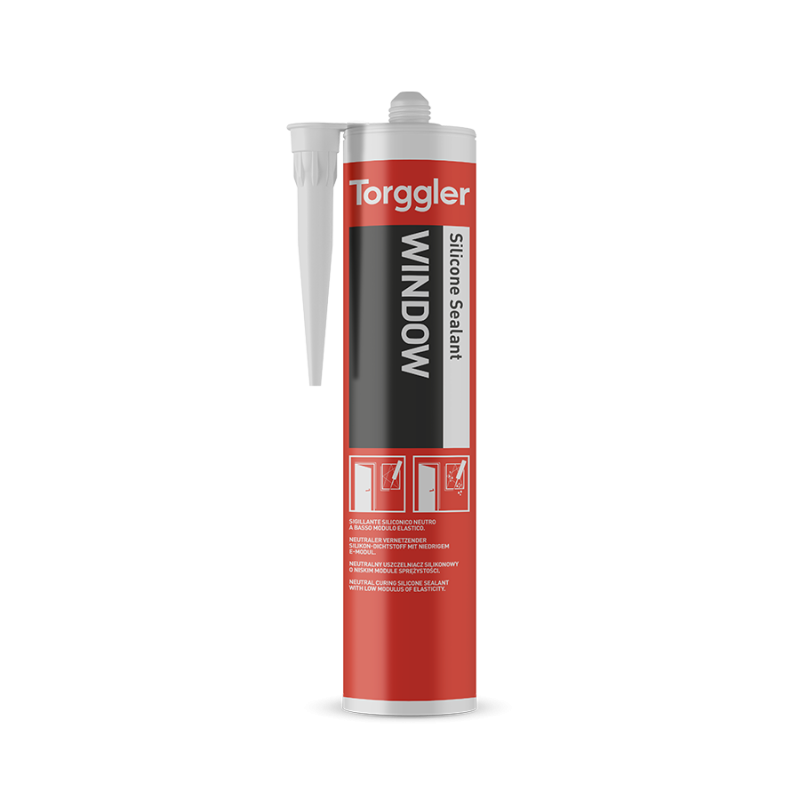
Neutral Silicone Sealant Window
Torggler
Neutral curing single-component silicone sealant for the installation and sealing of connection and expansion joints between frames and walls.
A neutral, single-component silicone sealant with a low modulus of elasticity and an operating elongation of class 25 LM (±25%). Its characteristics make it suitable for the elastic sealing of joints and expansion joints between frame and wall. Curing takes place by reaction with atmospheric humidity, it does not release odours, like all silicones it is not paintable and cannot be applied on damp surfaces. It has a high resistance to UV radiation, weathering, water stagnation, extreme temperatures and ageing in general. Neutral-based silicones do not corrode metals and have excellent adhesion on smooth and porous substrates. The wide range of colours available is designed to match Window to metal profiles for sheet metal and window frames, whether liquid or powder-coated. In any case, given the multiplicity of paints on the market, it is always recommended to carry out preliminary adhesion tests. In compliance with the installation of windows and doors according to UNI 11673-1.
Instructions for use
- The sides of the joint must be clean, degreased and dry. With porous substrates it is recommended to treat previously with Primer Silicone. In deep expansion joints buffer with before sealing.
- Tape along the sides of the joint.
- Insert the cartridge into the cartridge gun, open it, screw on the nozzle and cut off the tip so that there is a sufficient opening.
- Inject plenty of sealant.
- Smooth with a spatula moistened with Smooth within 5 minutes of application, exerting pressure to eliminate air pockets.
- Remove tape immediately after smoothing.